
Ideal tutorial to improve your sewing skills, it will bring a little freshness to your interior!
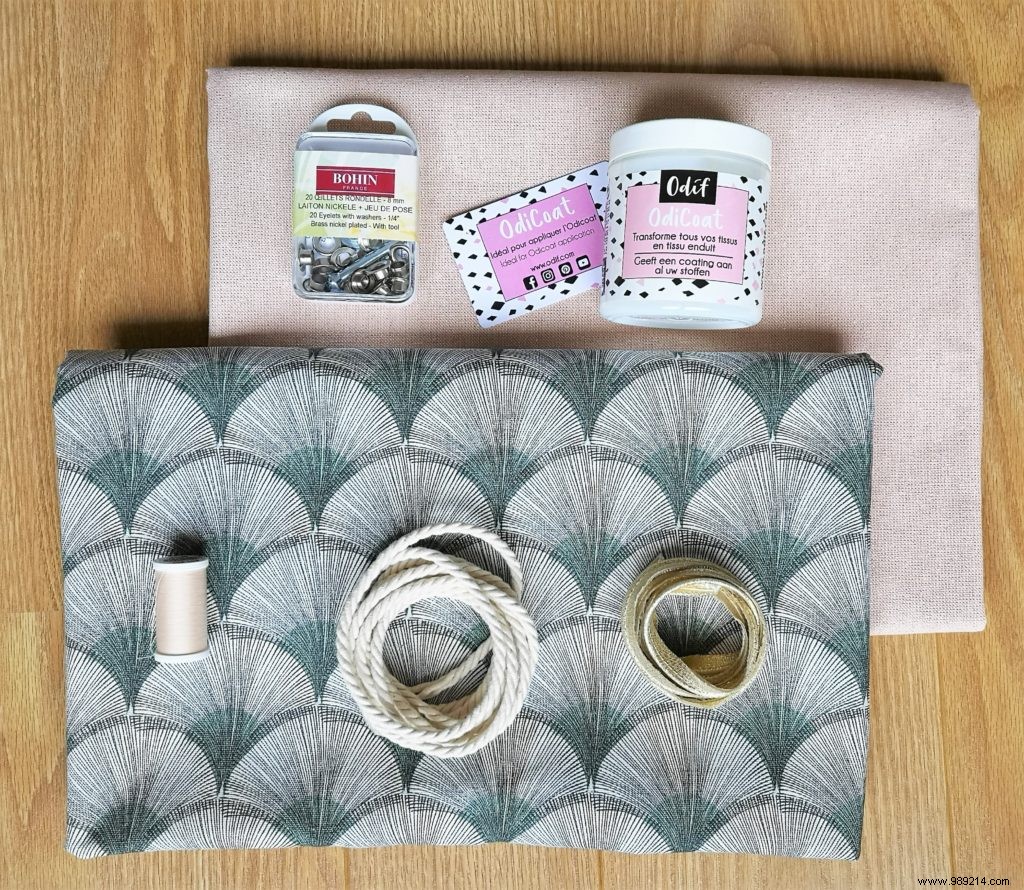
For this tutorial, you will need:
• 2 fabric swatches of the bachette or cotton twill type (one for the lining and one for the outside) of a length equivalent to the height of the desired pot +10 cm. Here a papyrus bachette and a gold lurex bachette
• A spool of assorted thread
• 3 eyelets of 8 mm
• 2.50 m of cord or more depending on the size of the pot and the place where you want to hang it
• 1 jar of Odicoat waterproofing gel from Odif
• retaining clamps
• optional:50 cm of piping
1. Take the measurements of your pot/cache-pot:height, circumference and widest diameter.
• Cut out two rectangles:1 for the liner and the other for the outer covering of the pot. For the dimensions:height of your pot + 10 cm, maximum circumference of your pot + 6 cm.
• For example for a 12 cm high pot, 33 cm circumference I will cut out two rectangles of 22 cm by 39 cm
• OPTIONAL:You can choose 2 fabrics for your planter and insert piping.
• If you want to add piping as in the photo, you will need to add 2 cm in height to the rectangle of fabric corresponding to the outside of the flowerpot.
• Also cut out the bottom of the pot, ie 2 circles of the following diameter:diameter of your pot at the widest point + 1.5 cm. Ideally you can use a compass for a perfect circle!
2. Coat your fabrics with the Odicoat product from Odif, either using the card provided with the pot, or using a brush like here. Ideally 2 rather thin coats are enough. Add a 3rd layer for a waterproof finish. Leave to dry well for 20 minutes between two coats, and 24 hours to work the fabric again. To dry it permanently, iron it without steam with parchment paper. Read the instructions on the jar carefully.
 3. PIPING OPTION:it's time to sew your piping between your two outer fabrics!
Cut the rectangle of fabric corresponding to the outside of the cache-pot to 2/3 in its width in order to insert the piping, first place against place on one of the two pieces, then by adding the second piece of outer fabric, always right sides together.
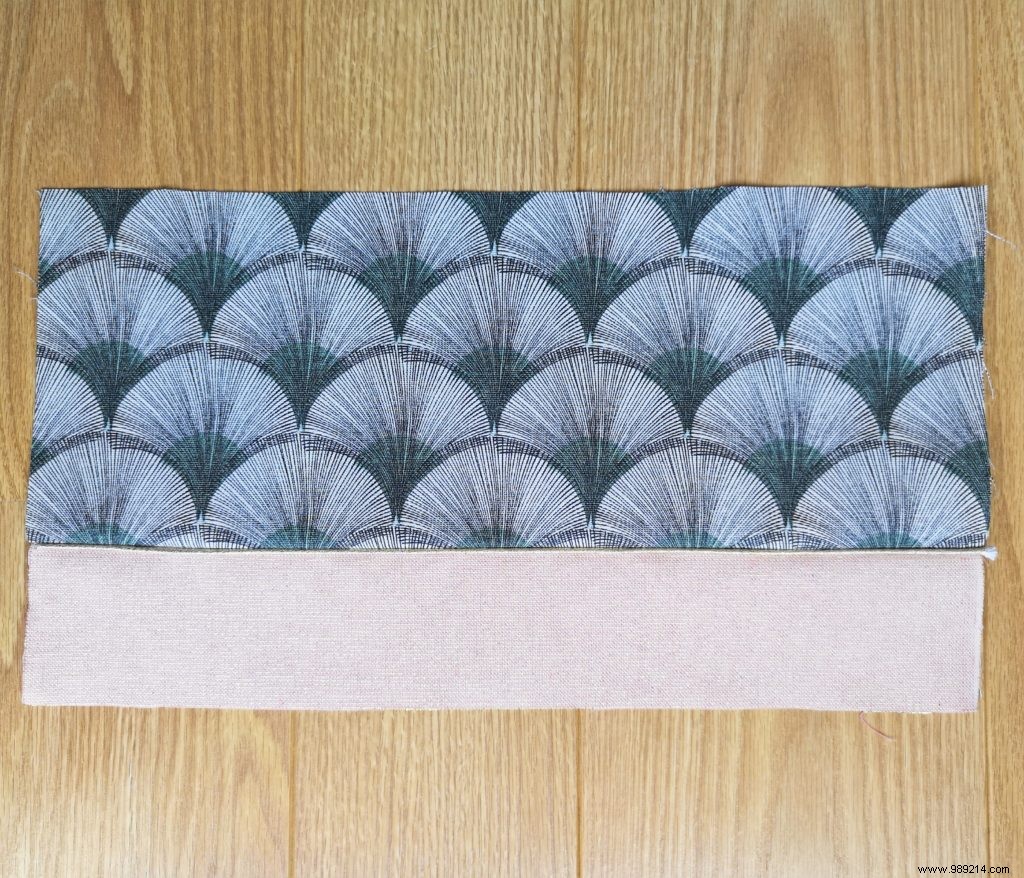
4. Close the two rectangles by their height. Favor clips rather than pins:the fabric is more rigid and it becomes difficult to pin.
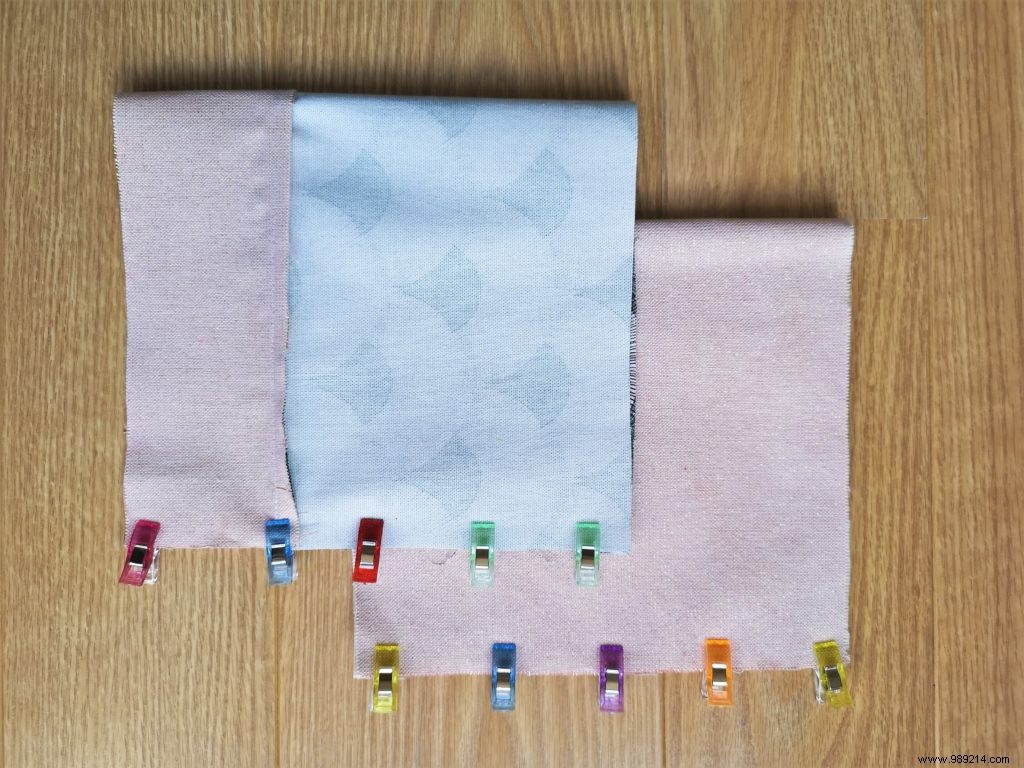 5. Sew on the two tubes obtained their respective bottom. Go slowly, distributing the fabric well all around using the pliers.
 6. Insert the two tubes thus obtained right sides together and sew around, leaving a 10 cm opening in order to turn the cache-pot
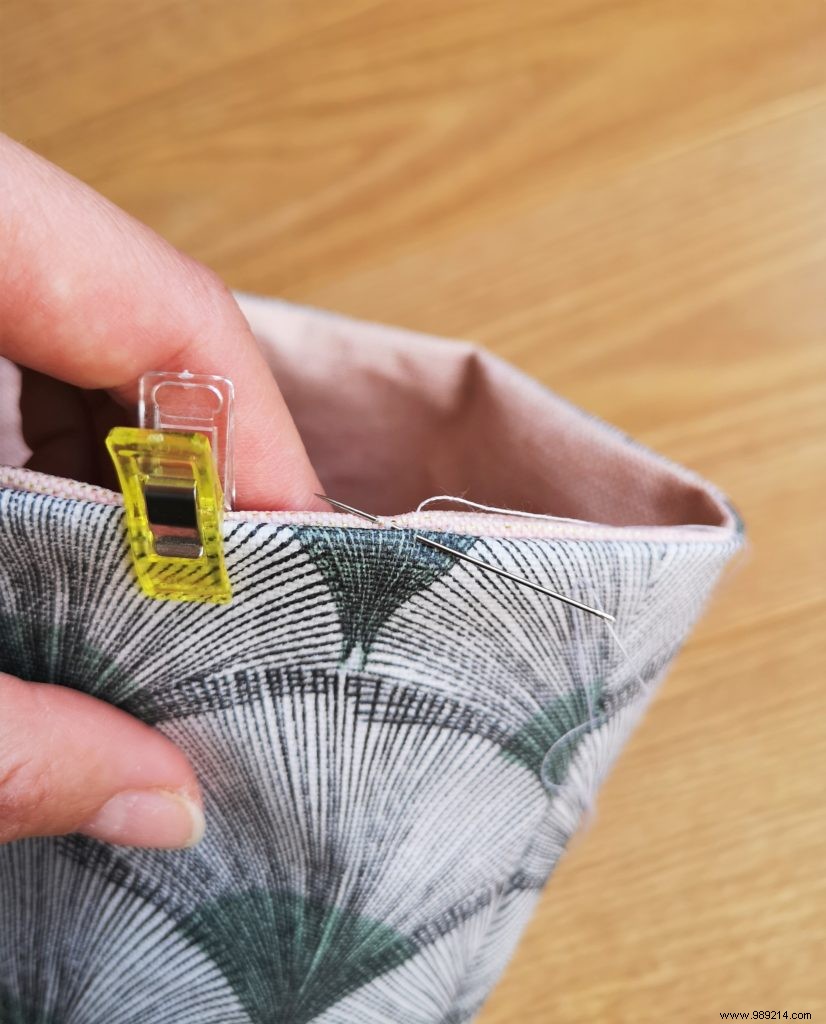
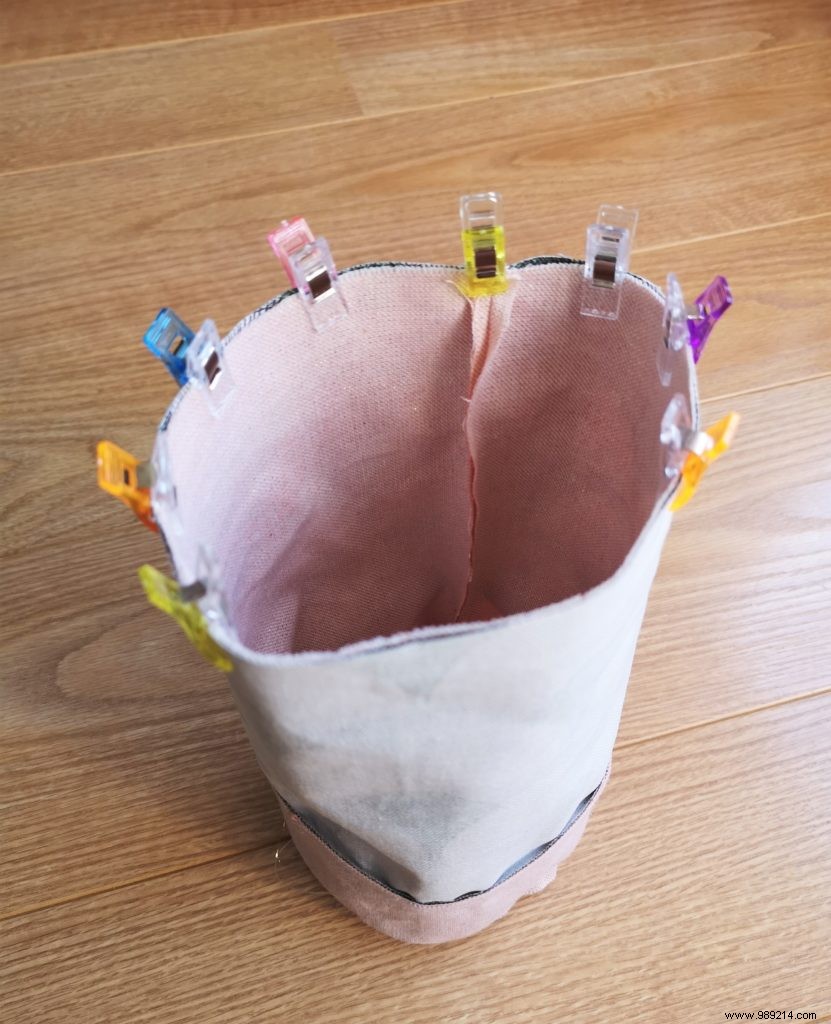 7. Gently turn the cachepot over and close the opening with an invisible stitch by hand
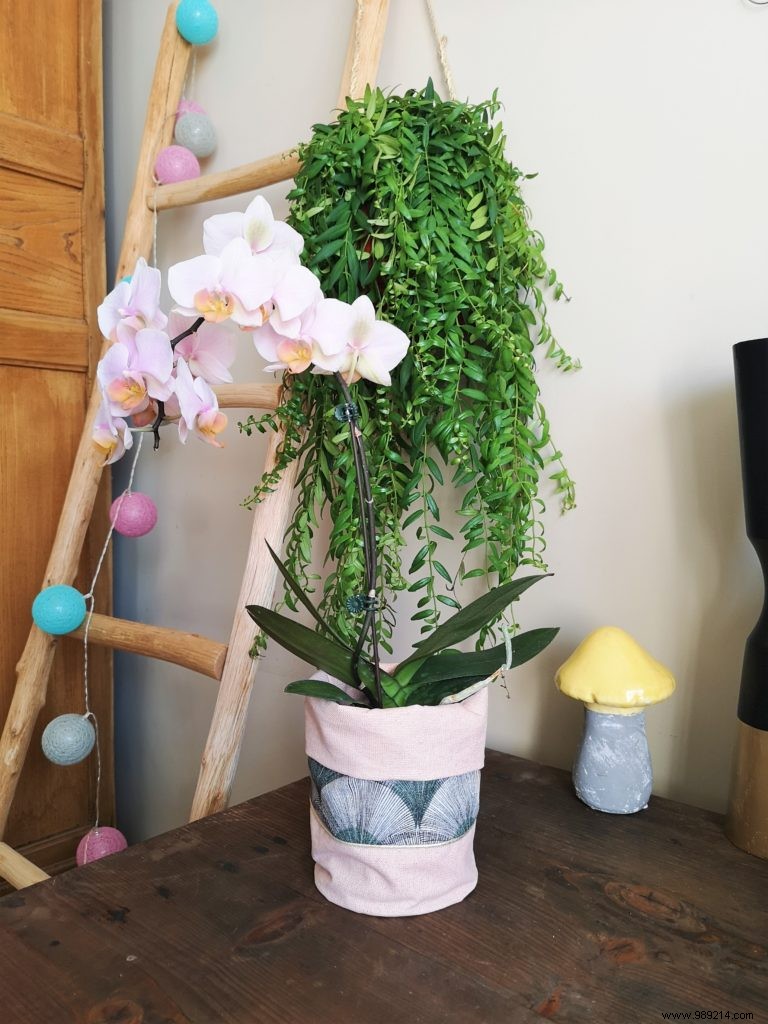
  8. Make a fold outwards, place your pot there and put it where you want!
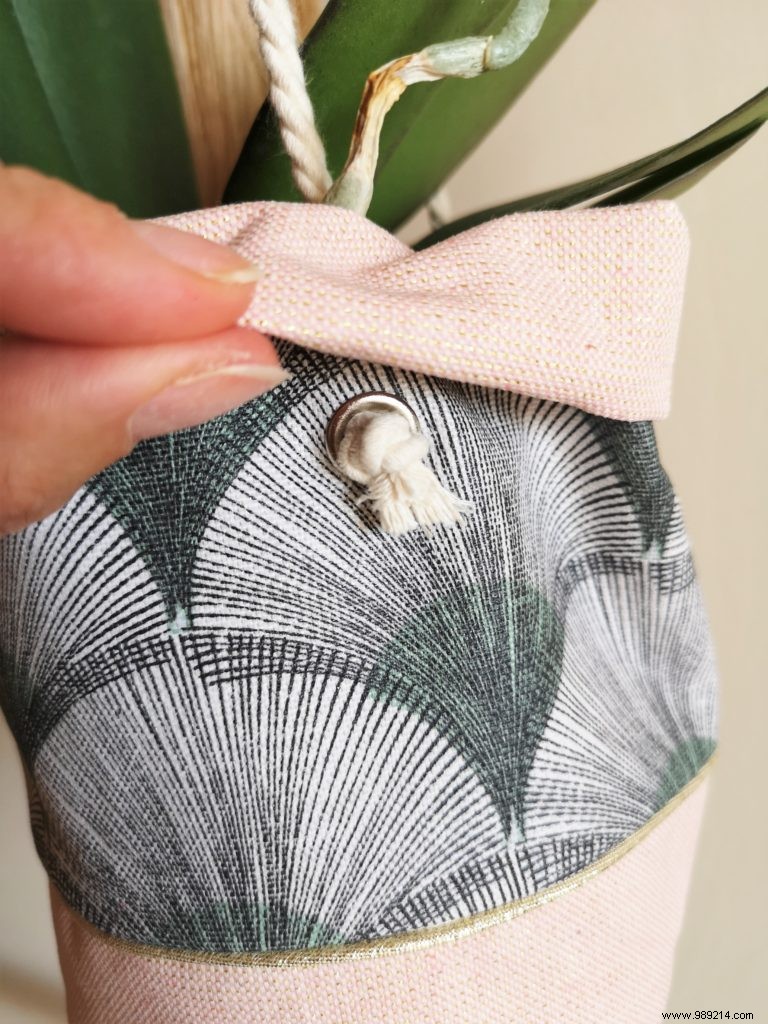
9. HANGING POT OPTION:Place 3 eyelets at equal distance at the top of the flowerpot, measure approximately 40/60 cm of cord x 3 (depending on the desired height), pass them through the 3 eyelets then tie a knot.
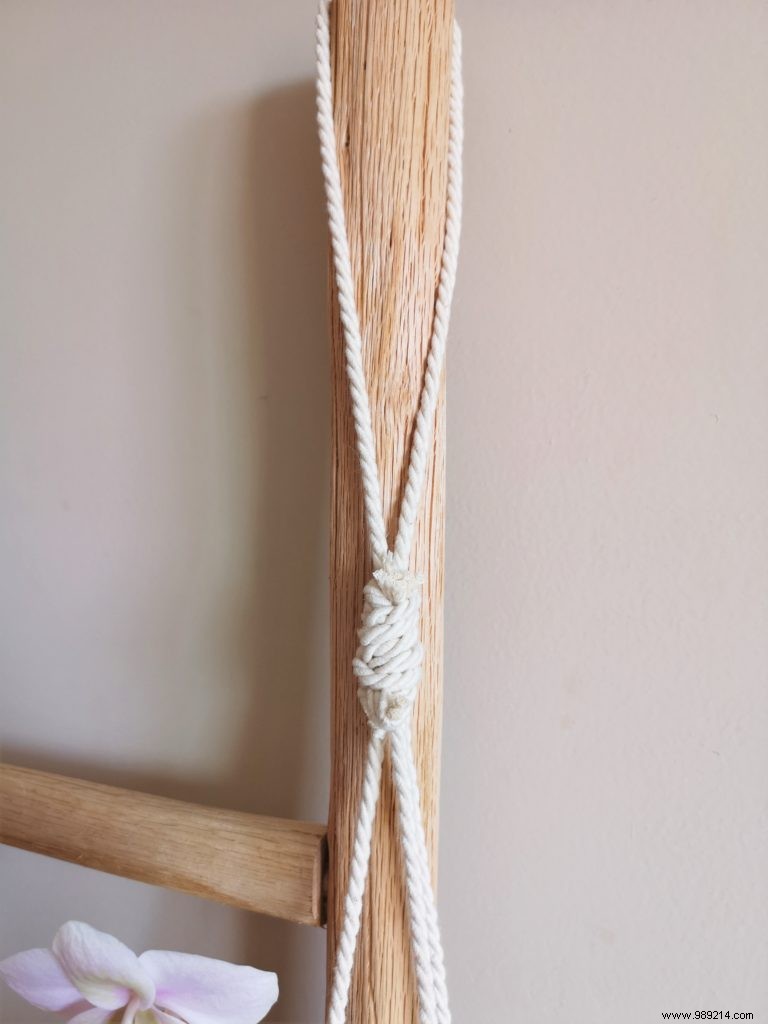
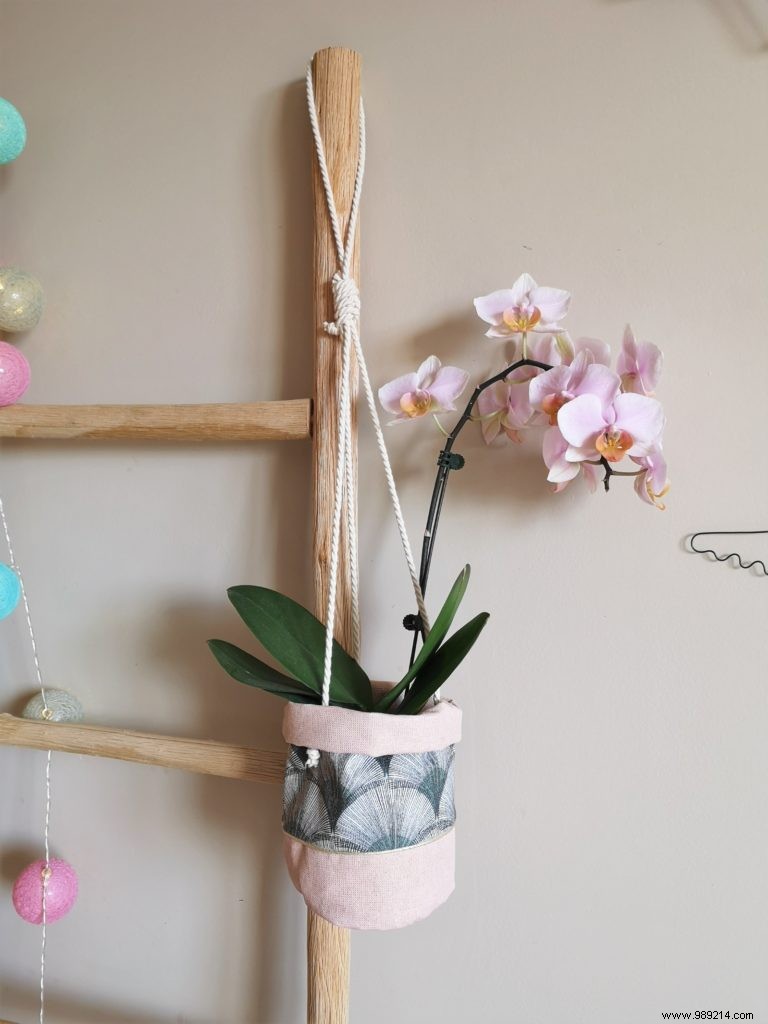
10. Then tie the 3 ends of the cord together at the top
Using the remaining cord, tie a loop on the knot previously made to be able to hang it where you want!
Source:www.mondialtissus.fr